How to build a Windows Server 2019 Active Directory VM on VMware Fusion 11 (For your Lab)
- CITLead
- Mar 8, 2019
- 2 min read
Updated: Mar 17, 2019
So you decided to start learning PowerShell but not sure where to start. I learn best by trying things out and seeing results by running the commands. For now, I will skip the installation of Windows Server 2019 and focus on configuration. Please note: I am configuring everything for a simple lab environment so we can start working on PowerShell code.
Let's start with configuring VMware Fusion 11 network settings. We need to set our network to allow are VM to have a static IP address, I also set up my VM to use NAT so I can download Windows Updates.
To get to network option in VMware Fusion 11, click on VMware Fusion > Preference > Network
*This option is only available on VMware Fusion 11 PRO.
If you have VMware Fusion 11 its a little tricky to set up your network configuration, go to the folder "/Library/Preferences/VMware Fusion". You will see a file name "networking". Ensure VMware Fusion is closed, and back up the file.
Below is an example of what the file will look like:
Edit the file and add the below:
Here is a blog post that goes into more details on how to modify the network file.
Once you start up VMware you should see the new custom network called "Lab Network".
Ok now that we have the VMware network settings setup let's configure Windows Server 2019 with a static IP address. Here is a screenshot I have set for my VM. It took me some time to figure out my Default gateway; I modify my setting to hand out DHCP to find the Default gateway. Then turn off DHCP then configure Windows network setting.
After we are done configuring our servers network, lets rename the host to dc01.
Open System Properties and click on Change...
Rename your host to dc01 and press OK.
Restart your VM.
***Before we continue on, this is a good time to take a snapshot of you VM. Just incase your Active Directory install goes bad you can always revert back to your snapshot.
Lets begin!
Open Server Manager and click on Manage
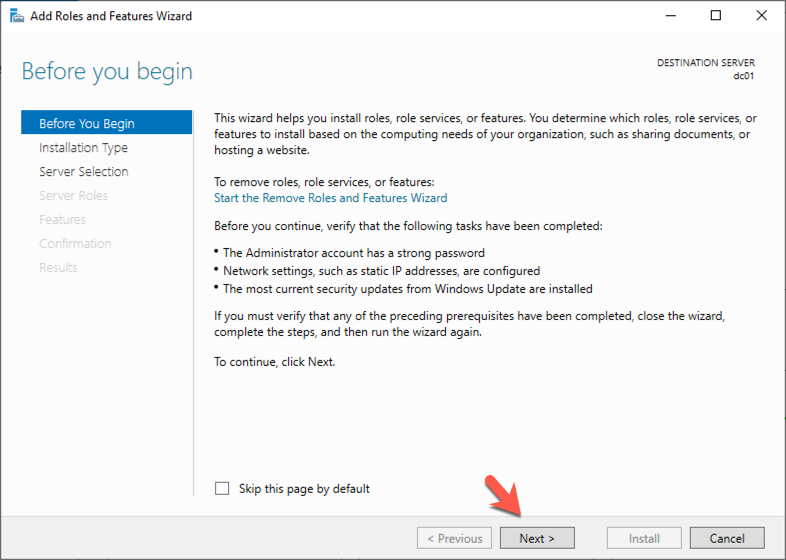
Click on Add Roles and Features
Click on Next >
Click on Next >
Click on Next >
Select Active Directory Domain Services
Click on Add Features
Click on Next >
Click on Next >
Click on Next >
Click On Install
Watch the Install run
Active Directory should now be installed, now we have to configure it.
Server Manger should have a Flag with a icon below it, when you click on the Flag you should see Promote this server to a domain controller.
Click on Promote this server to a domain controller
Select Add a new forest
Enter the Root domain name test.local
Click Next >
Enter DSRM password
Click Next >
The NetBIOS domain name will populate on its own.
Click Next >
Click Next >
Click Next >
If you click View Script, a PowerShell script will appear with all the setting you have selected.
It will look like below:
Windows will now do a pre check
Click Install
Watch the install run
Once the install has completed Windows will reboot.
Once your VM boots up your log on screen should like like this
Once you log in check if Active Directory Users and Computers is available.
Congratulations! You just setup Active Directory, we can now start working on Active Directory PowerShell scripts.


Comments